
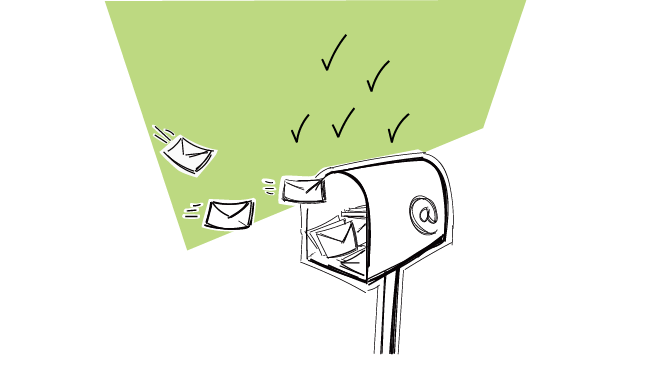
When we were getting about sending our own cold email campaigns, the first thing we did was setting up a new mailbox for each of our sales persons. Those new email accounts have been created on a separate domain and dedicated exclusively to outbound email campaigns. Why did we do that? And how can you do that quickly and conveniently for your own outreach?
Why did we set up a mailbox for outbound?
We did it for 2 reasons:
Reason 1: Safety of our company domain
We decided to take all necessary measures to make sure our domain NEVER gets blacklisted.
Doesn’t good copy protect you from being blacklisted?
Yes, in general good copy that provides some value to the prospect helps you take care of the safety of your domain. It’s crucial for each cold email sender to write emails that won’t be considered spam – either by people or by anti-spam bots. And we do our best to make sure the copy of the emails does not feel spammy.
But that’s getting more and more difficult, as our target market is quickly getting saturated with cold emails. And most of the cold emails our prospects receive are seen by them as spam. Now, even one misfortunate expression may cause that an email from a stranger is almost automatically classified as spam. And I don’t mean by the spam filters. I mean by people.
The point is…
Even if you try really hard to create copy that brings some value to the prospect, it may be the case that your email gets classified as another crappy unsolicited offer and gets marked as spam even before the prospect reads the whole thing.
I guess, with a well-prepared email that’s rarely the case, but still you need to take such a possibility into consideration.
And that’s why we needed a separate mailbox on a separate domain just for our cold emails. We wanted to play it as safe as possible and make sure that our domain woodpecker.co is safe, no matter what.
Reason 2: Convenience of handling the replies
The word convenience covers two motifs in our particular case:
Motif #1: We want to see clearly in an inbox, which replies came from our outbound campaigns. When we have a separate mailbox set up exclusively for cold email campaigns, we know all emails incoming to this address are replies from our prospects. This way, our sales guys don’t have to struggle with a mess in their main work inboxes.
Motif #2: Even if cleaning the mess in our main inbox wasn’t a thing we hate doing, we would want to have a separate mailbox for outbound to integrate with Woodpecker. Why?
Because Woodpecker needs to access the replies in order to mark our prospects as REPLIED and stop sending them follow-ups.
Now, if we used our main work mailbox for outbound campaigns, and we wanted it to stay tidy at the same time, we would probably move some of the replies to dedicated folders or archive them. And in such a case, Woodpecker wouldn’t have a chance to detect the replies and mark our prospects accordingly in our contact base.
So with the separate mailbox dedicated exclusively to outbound outreach, we are happy and Woodpecker is happy as well.
How exactly did we set up the new mailbox?
STEP 1: We bought a new domain – getwoodpecker.com.
That’s the domain for outbound. We don’t use it otherwise.
Important: When choosing the name of a new domain, make sure it corresponds with your main one. Make sure your prospects won’t get confused. Remember that your email address is also part of your message.
See also: What Should Be the “From” Line of My Cold Email? >>
Consider adding a word as a kind of affix to the name of your original domain. Try adding for instance:
- get- at the beginning,
- -app at the end
- changing the .com to .co, .io or the other way round.
STEP 2: We created a business account on Google Apps.
STEP 3: We placed the new domain getwoodpecker.com on our Google Apps account (this link may appear handy if you want to know the technical details).
STEP 4: We created 2 mailboxes within our Google Apps account, one for each of our sales guys.
STEP 5: We warmed up the mailboxes before we integrated them with Woodpecker. That is, the guys manually sent some emails from the mailboxes to servers hosted by various email service providers. Check out a full tutorial to warming up your email address before sending cold email campaigns.
STEP 6: We integrated the new mailboxes with Woodpecker, and set up first outbound campaigns BUT we started the sending slowly, no more than 2-3 campaigns limited to maximally 10 prospects/day.
STEP 7: We gradually lifted the sending limits in Woodpecker, to reach our planned daily limits (around 150/day).
What’s in it for you?
Maybe you think, “I write emails that cannot possibly be considered spam, I’ve never had a situation in which the security of my domain was in danger. So why should I care about setting up a mailbox exclusively for outbound?”
If you feel totally safe and don’t mind the prospects’ replies mixing with other messages in your main inbox, think about more intensive testing of your cold email copy. A separate mailbox on another domain gives you more comfortable space for testing and making mistakes. That’s especially important when you start and you need to test a lot to optimize your copy and settings.
***
Do you have a separate mailbox for outbound campaigns? Do you plan to set up one? Or maybe you think this isn’t a good idea for some reason? I’ll be grateful if you share your thoughts in the comments.
You may be also interested in:
- How to Warm Up My Email Address before Cold Outreach? >>
- Why Do People Hate Cold Emails & What Can We Do to Let Them Love Ours? >>
- 10 Factors that Make Our Cold Emails Work (or Not) >>
FAQ
1. How can customers ensure their outgoing mail is securely sent from their mailbox?
Customers can ensure their outgoing mail is securely sent from their mailbox by using a mailbox with a secure outgoing mail slot or compartment. Additionally, they should always check the pickup schedule of their carrier to ensure the mail is sent on time. For sensitive or valuable mail, customers might consider scheduling a pickup directly with the carrier or taking the mail to a post office or shipping center themselves.
2. What are the best practices for addressing outgoing mail to ensure it reaches its destination?
The best practices for addressing outgoing mail include clearly writing the recipient’s full address, including the street address, city, state, and ZIP code, on the front of the envelope or package. The sender’s return address should be written on the top left corner. Using a pen with dark ink ensures the address is legible. Double-checking the address for accuracy and including additional details like apartment numbers can also help ensure the mail reaches its destination.
3. In most cases, how can customers contact their mail carrier to schedule a pickup for outgoing mail?
In most cases, customers can contact their mail carrier to schedule a pickup for outgoing mail by visiting the carrier’s official website and looking for the pickup scheduling option. This service is often free for packages but may require an account setup. Customers can also call their local post office or shipping center directly to inquire about scheduling a pickup, especially for large volumes of mail or packages.
4. What should employees remember when sending outgoing mail on behalf of their company?
When sending outgoing mail on behalf of their company, employees should remember to use the company’s official mailing address and include the appropriate department or employee name in the return address. It’s also important to ensure that the mail is sent using the correct postage and carrier services to meet any delivery deadlines. For official documents, using tracked or insured shipping options can provide additional security and peace of mind. Employees should also be aware of any company policies regarding the sending of mail, including the approval process for sending items that may incur higher shipping costs.
READ ALSO

2 Quick Tricks to Speed Up a Cold Email Campaign in Woodpecker
I get it. You've connected your email address, wrote an outstanding email sequence, uploaded a long list of verified prospects and conducted a 5-minute campaign audit to check if everything's right, but Woodpecker has sent very few of your emails so far. Let's go through all the steps together and discover what can be improved to boost your sending.
Step-by-Step Practical Guide to a Cold Email Campaign That Gets Delivered
Sending an automated cold email campaign is just a start. In the end, you want your emails to actually get to your prospects' inboxes. And to make that happen, it's crucial that you properly plan and set up your cold email campaign in every detail. I wrote this post in cooperation with our Support team and our Head of Integration & Deliverability, because we observed that many of our users still need help when it comes to properly adjusting their cold email campaign settings.
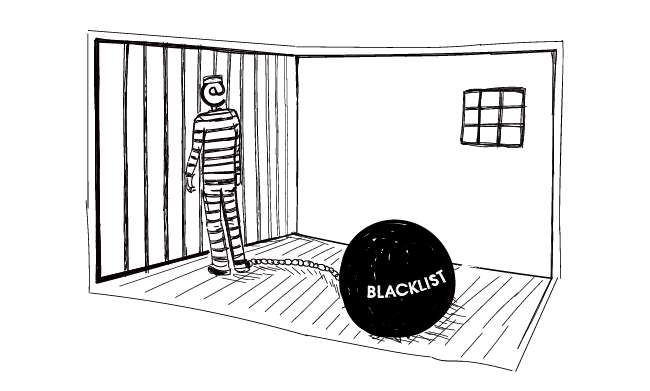
What Do I Need to Know About Email Blacklists?
You set up a cold email campaign and everything seems to run smoothly until you have a look at the statistics and notice a very high bounce rate. This may be a sign that you got blacklisted. First of all - don’t panic. Provided you landed on a blacklist unintentionally, it’s not such a big deal to get yourself off it. What costs much more effort, though, is regaining good sending reputation afterward. But first let me explain to you how blacklists work, why you landed on one and what you can do to get your IP removed from it.